How to Rebuild a Vape Coil?
By Victoria Vadasz
Some of the information in the following blog is based on external, third party sources and is for educational/informational purposes only. Such content is not intended to be representative of the products sold on this website.
Many vapers, often those newer to vaping or less experienced, aren’t aware that you can build your own coil. However, it’s something that vapers can do, and we’ll explain how to get started right here.
Before you begin, however, it’s important to refer to the manufacturer’s guidelines. And remember that improperly built vapes are a safety hazard – it’s best to put safety first, so only attempt to rebuild a vape coil if you’ve got a good understanding of the process, and how vapes work.
Why Should you Rebuild your Coils?
First of all, why would you want to rebuild your coils? After all, you can buy disposable coils and they’re relatively inexpensive compared to other vape components.
By building your own coils, you can tailor them to suit the way you vape. Adjusting coil materials, resistance and more can alter the vaping experience, and some prefer this more customisable option despite the extra work required.
Building coils can save you money in the long run too, as it’s cheaper to buy everything you need to rebuild coils at once than it is to keep buying pre-built coils each time you need them. Meanwhile, if you run out of coils, you’ll be able to get back to vaping sooner rather than later.
Is it Hard to Rebuild Vape Coils?
There’s no straight answer to this question: it’ll depend on the individual vaper’s experience and understanding of vapes. Certainly, you should only try to rebuild a vape coil if you’ve got a good understanding of vape technology and Ohm’s law, but if you do it can be more simple than perhaps you might think.
What Tools do you Need to Rebuild Vape Coils?
You’ll need a few tools to hand before you begin to rebuild a vape coil, and the following are important. You can find coil building kits with everything you need, or you might choose to buy everything separately – or perhaps you have some of the tools already.
Resistance Wire
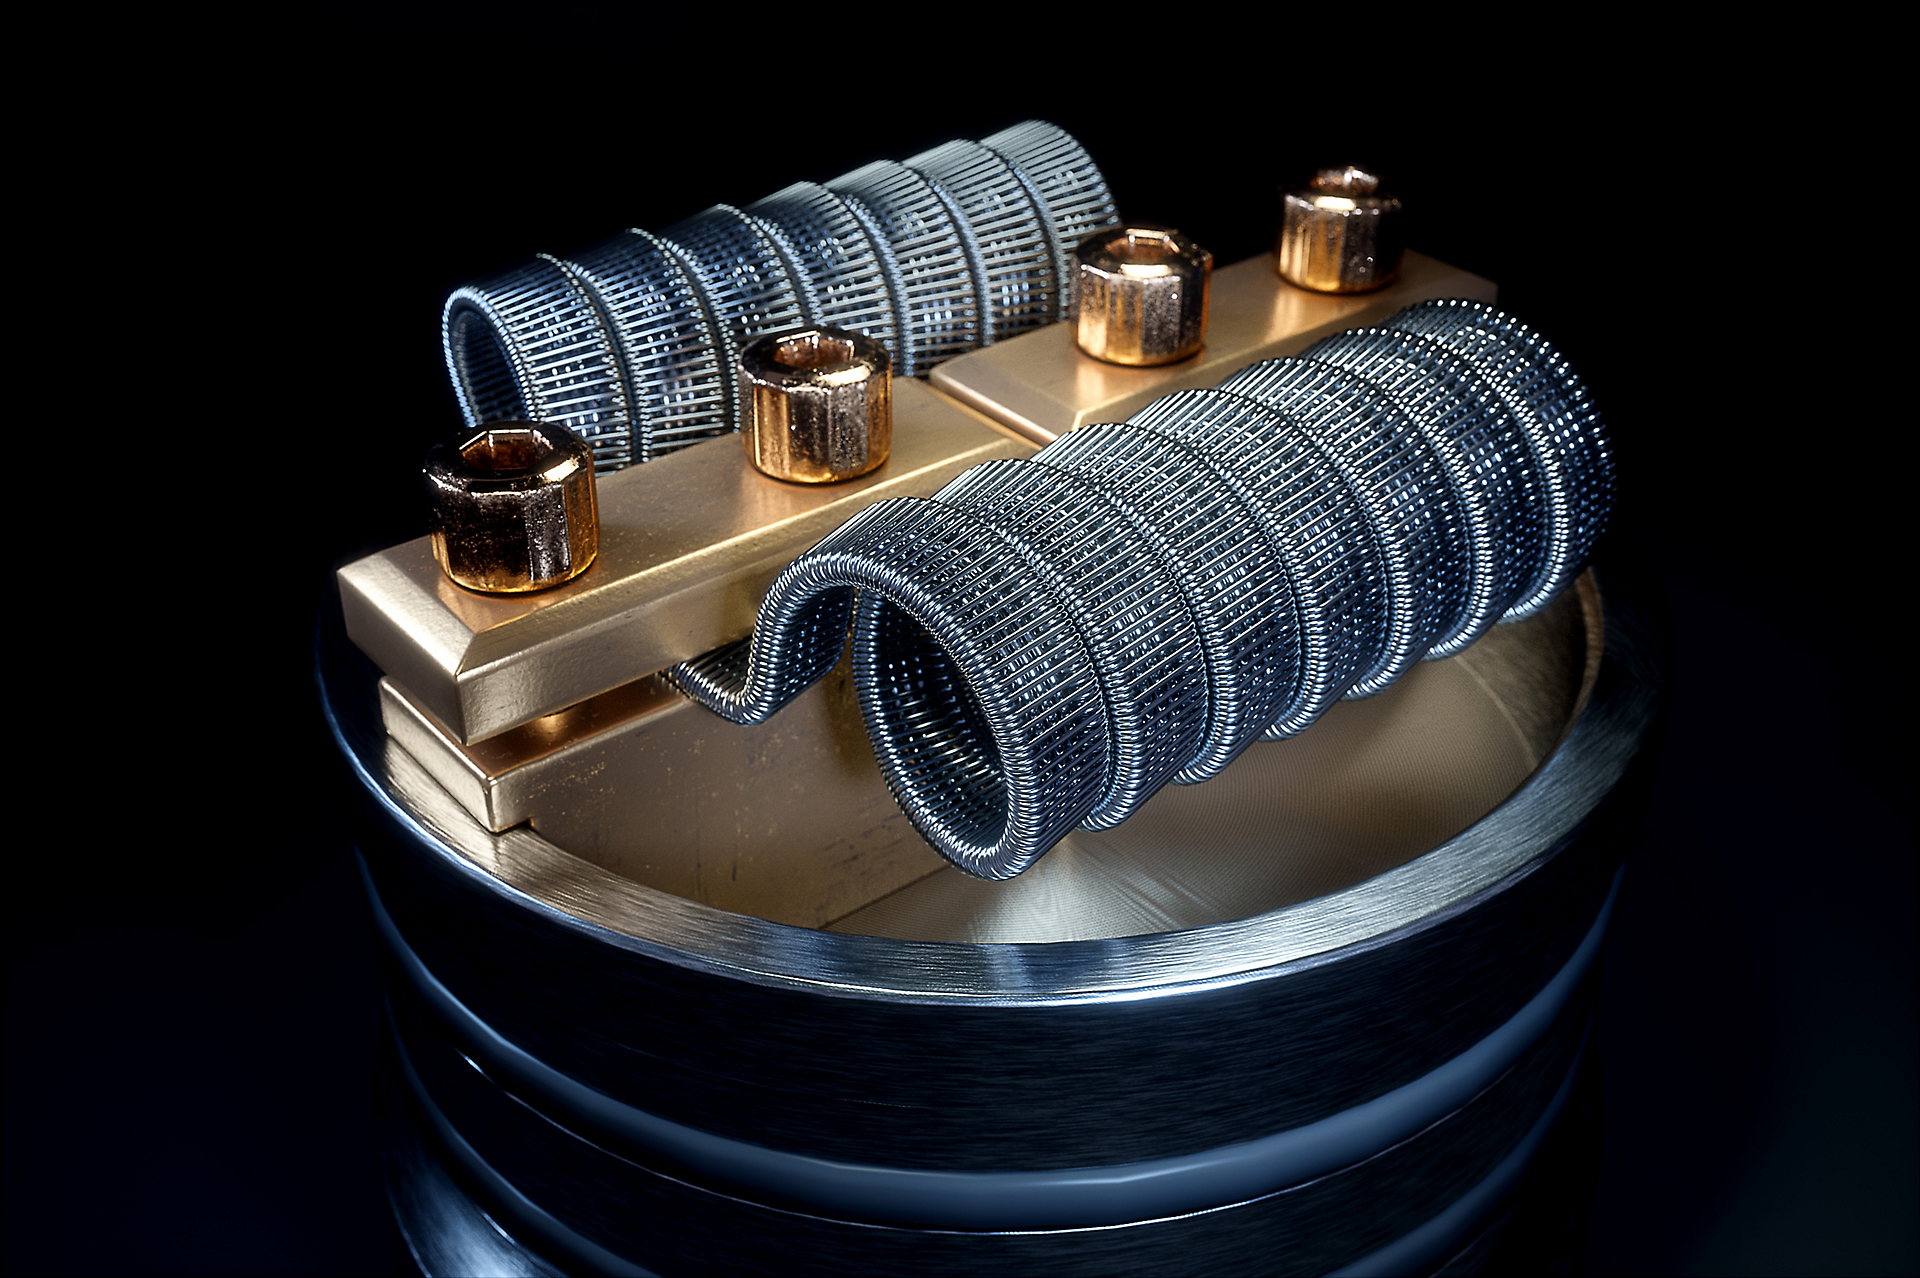
Coils are made from resistance wire, so it’s a must for rebuilding vape coils. A popular choice is Kanthal wire, often used for wattage and voltage mode vaping, while for temperature control vaping, stainless steel, titanium and nickel are options. The latter can be difficult to use, however, so for people new to vaping, stainless steel or Kanthal tend to be better choices – 24 to 28 AWG is ideal
Organic Cotton
The standard is Japanese organic cotton – most types of cotton can be used when building a coil for an RDA, but for rebuilding stock coils it’s best to keep with Japanese organic cotton.
Wire Cutters
Cutters that can cut close in small margins are useful to cut the legs of your coil. Nail clippers and scissors can both do a job here, but wire cutters are best – you want something that’ll let you cut close to the head.
Tweezers
Ideally, you’ll have two types of tweezers. Ceramic tweezers should be used to pinch your coils while pulsing, and some fine-tip tweezers should be used to fluff the cotton and put it in place.
A ‘Guide’
You’ll need something like a small screwdriver or a drill bit to build your coil around – it doesn’t have to be either of these things, but something thin and a similar shape is a must. Consider your device, as you’ll need something thin enough so that the coil will fit back inside when the process has finished. Some people use a coil jig, but that’s not a requirement.
Steps to Rebuilding the Vaping Coil
Before attempting to rebuild your vape coil, please ensure that you refer to the manufactuers guidelines of your device.
Disassembling the Atomiser
When rebuilding a coil, the first thing you need to do is disassemble the atomiser head. At the bottom of most atomiser heads, there’s usually a metal pin that goes into a rubber grommet, and in turn into the base of the coil. Around the inside edge of the pin, there should be a small end of wire, and there should be another one between the grommet and the atomiser base. Pull out the pin, and then pull out the grommet. Here, the coil might come out too, but if it doesn’t you can simply grip one of the legs and pull it out. At this point, you can dispose of the old coil in a tissue.
If your atomiser has a layer separating the wicking ports from the inner chamber, you might be able to separate the outer casing from the layer. If not, it’s best to rinse the outer wick with some water and let it dry.
Wrapping the Coil
Take a look at your atomiser head to work out how big you should make your coil. Here, you may want to use a screwdriver to see what sort of length you’ve got and ensure that the width of the screwdriver gives you satisfactory space between the walls of the head and your coil.
Once you’ve done this, you can begin the process of wrapping the coil itself. Try to keep the spacing of the wrap as even as possible and finish the coil with the legs on opposite sides – hold your coil vertically, and the two legs should be pointing away in different directions. More experienced vapers may decide to make a contact coil, in which each wrap touches the previous one, but an ordinary coil should work well.
Finally, get your tweezers – or pliers also work too – and create two bends in the legs to ensure that they’re both pointing downwards. Focus on the upper leg, as it needs to go down the length of the coil without touching it.
Wicking the Coil
Get a sheet of Japanese organic cotton and cut a strip of cotton that’s wide enough to cover the length of the coil. Get rid of the front and back layers of the cotton too.
Get the end of the cotton strip and put it between the coil and the upper leg and wrap the cotton around so that the coil is encased. Ideally, there should be enough cotton so that the coil fits snugly in the atomiser head, but not so much that it’s difficult to fit it back in – with this step, you might need to try a few thicknesses to get the right fit. Then, you can cut any excess cotton off.
Connecting the Coil to the Atomiser
You’re almost done at this point. For extra help, keep your guide through the centre of the coil and twist the atomiser head slightly while you insert the coil, in the same direction as you wrapped the cotton so as not to unravel the cotton. Ideally, it’ll be positioned in the centre – make sure the legs line up with the small blocks cut out of the bottom of the head too, if your atomiser head has them.
Then, insert the rubber grommet – thread a leg through the centre to trap the other leg between the grommet and the head. From here, you can get the grommet into place, and then insert the metal pin into the grommet. Finally, snip the legs if you need to.
Testing the Coil
It’s advisable to attach the coil to the base of the tank and test the resistance before you prime the coil, fill the tank up and go about vaping. If your readings are in the range you’re expecting, you should be able to finish the process and use your vape as normal.
That’s how to rebuild a vape coil, but if you’d like to know how to prime a coil, you can take a look at our guide, right here.


