
.png)
First steps with VEEV ONE.
A handy introduction to your new vape device.
Select your device to get started


?qlt=85&ts=1787551348013&fmt=png-alpha&dpr=off)


How to use VEEV ONE for the first time.

Unbox
• Carefully remove the VEEV device from the packaging, You’ll also find the User Guide and Safety Warnings and Instructions
• Ensure you have a Type C charging cable, AC power adaptor and VEEV ONE pod on hand.

Prepare
• Insert VEEV one pod into your device.
• Hold down the ON/OFF button on the side for three seconds, then release to turn on
• If you need more charge, you can plug the device into a wall socket using compatible charging accessories - a full charge takes less than 45 minutes

Vape
• After holding side button down for three seconds, inhale to begin your vaping experience
• You can manually turn off the device by pressing the ON/OFF button for three seconds until all lights fade out
Quick guide to get familiar with your VEEV ONE.
VEEV ONE user document.
Our VEEV user documents are designed to help you understand and properly use your specific model.
You’ll learn about:
- Component names and functions.
- Optimal storage and usage.
- Safety warnings and instructions.
- Warranty coverage.
FAQs
When you buy a VEEV ONE device, the box contains the essentials you need to get started.
Inside the box, you will find:
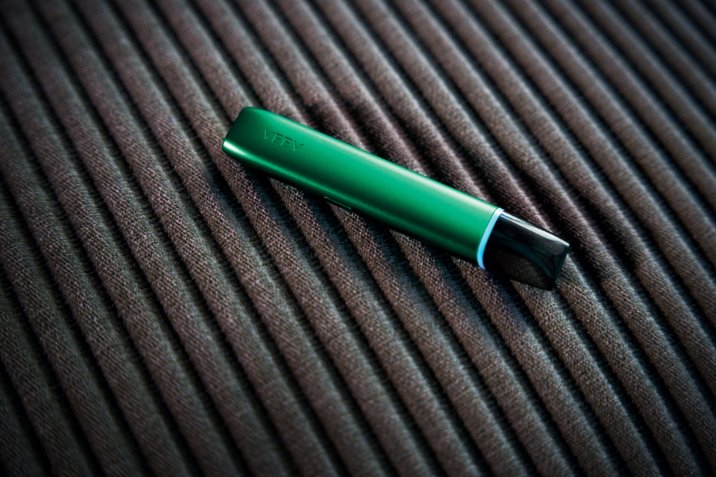
- Your new VEEV ONE device
- User Guide
- Safety Warnings and Instructions.
Note: Charging accessories are not included. You can use any compatible and undamaged charging cable and AC power adaptor you already own.
Registration is not required to begin using your VEEV ONE device. However, registering your device offers several important benefits that improve your overall support experience:
- Faster service and troubleshooting: When your device is registered, support teams can quickly identify the model and serial number, making diagnostics and assistance more efficient.
- Easy warranty validation: Registration helps confirm whether your device is under warranty. This is especially useful if you ever need repairs or a replacement.
- More personalised online troubleshooting: The VEEV online troubleshooting tool can offer more accurate, tailored steps when your device information is already on file.
You need to fully charge your VEEV ONE device before its first use. This helps ensure the best performance from the start. Charge your device using a compatible charging cable and AC power adaptor.
To charge your VEEV ONE device:
- Connect the device to a wall socket. One light will begin flashing to show that charging has started.
- Leave the device to charge for around 45 minutes. The lights will switch off once charging is complete. When the battery is at 100%, all 4 strip lights will appear as solid white when you press the button briefly.
For additional device guidance and troubleshooting, visit VEEV support.
Your VEEV ONE is ready once the device powers on correctly, recognises the pod, and shows no empty‑pod alerts.
- Device is turned on: Press and hold the button for 3 seconds. The status lights will turn on, ramp up, and display the battery charge level.
- Pod is fully inserted: When the pod clicks into position, you may feel a vibration or see a brief light pulse. Any pulsing white light will change to solid white if the pod is inserted correctly.
- No empty‑pod warnings: If the top light blinks white 5 times, the device has detected low e‑liquid and the pod may be empty. Insert a new pod before using.
Note:
- If you try to switch on the device without a pod inserted, all LED lights will blink slowly once. The device will remain off until a pod is inserted.
- The light does not stay on continuously during use.
- The light will illuminate briefly every time you puff.
VEEV ONE devices are designed to work only with VEEV ONE pods. The device and pod use a closed-pod system, which means that no other VEEV pods or third‑party pods are compatible. To use the pod correctly, ensure the mouthpiece is facing upwards and that the pod is fully clicked into place.
For guidance on using or maintaining your device, visit VEEV support.
You can insert a VEEV ONE pod by taking it out of its pouch, aligning it with your VEEV ONE device, and pushing it down until you feel or hear a click. The device is designed to work only with VEEV ONE pods.
Here is the correct pod‑insertion process:
- Tear open the sealed pouch and take out the VEEV ONE pod.
- Insert the pod into the top of the VEEV ONE device.
- Make sure it is positioned the right way around and press gently until it clicks into place.
Important:
If the device light blinks red after inserting the pod, it may not be inserted properly. Remove the pod, check its orientation, and reinsert it.
For more guidance on pod usage and device support, visit VEEV support.
You may need to clean your VEEV ONE pod’s mouthpiece area occasionally, as residue or condensation can impact the taste and overall experience.
How to keep your VEEV ONE clean
- Wipe the pod mouthpiece regularly with a dry, lint‑free cloth.
- Clean the aerosol release area to remove any condensation or residue.
Tips to reduce the risk of e‑liquid leakage
- Store and use your device at room temperature (up to 30°c).
- Avoid high‑humidity environments.
- Prevent sudden temperature changes, such as moving from a cold indoor space to hot outdoor conditions.
- Use pods promptly once opened.
- Take smooth and gentle puffs with steady drawing pressure.
- Avoid storing or using pods upside down, as this can increase the chance of leakage or a burnt taste.
Notes
- Liquid in the pod insertion area may be condensation, not leakage.
- If taste or flavour issues persist, try a new VEEV ONE pod.
For more support on maintaining your device or troubleshooting performance issues, visit VEEV support.
Other related topics.
?qlt=85&ts=1789642599782&$PNG_600_480$&dpr=off)
Blog articles
Deep dive into how-to articles for detailed device and service information.
?qlt=85&ts=1789642563523&$PNG_600_480$&dpr=off)
?qlt=85&ts=1789642539801&$PNG_600_480$&dpr=off)